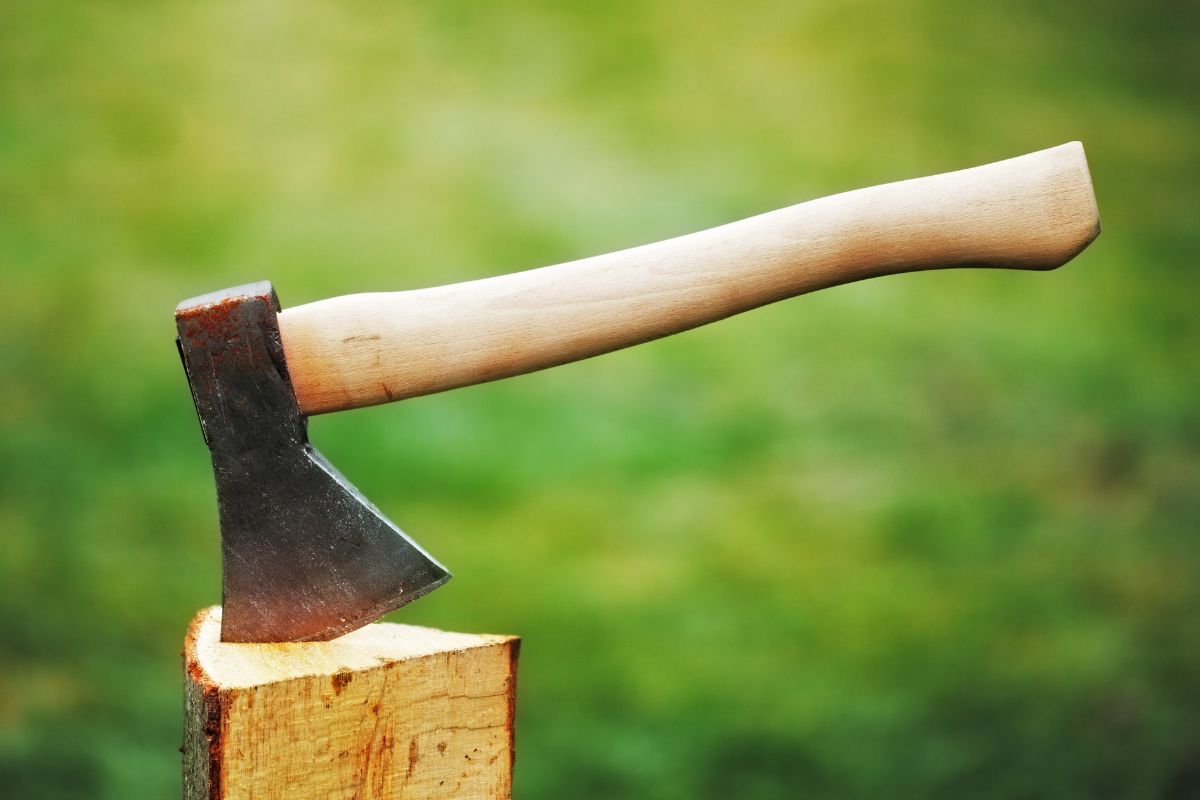
However, after repeated use for many years, it’s not uncommon for the handle on your axe to wear down.
Eventually, it may even need to be replaced. While they don’t have to be changed regularly, this is something you should expect if you’ve had your axe for a long time.
The fact you’re here would suggest that time is now!
Even if you’re a seasoned professional as far as axes are concerned, the concept of replacing the handle can be quite new and daunting.
Fortunately, the whole process is pretty straightforward and easy.
On top of that, axe handles are very rarely replaced so it’s not something you have to do time and time again.
In today’s post, we’re going to show you how to easily replace your axe handle so you can get straight back to work.
Stick around to learn more!
Replacing Your Axe Handle
You might find the process of replacing an axe handle a little tricky if you’ve never done it before.
In this post, we want to make the whole process easier for you.
To do that, we’ve put together a detailed list of instructions that will help you replace your axe handle as stress-free as possible.
We’ve split our instructions into two parts. The first part shows you how to replace the handle. The second part shows you how to secure the new handle.
Let’s get started with part 1!
Part 1 – Replacing The Handle
1. Buy A New Handle
Before you do anything else, you need to buy a new handle for your axe. Thankfully, most axe handles are standardized.
This means that it should be very easy for you to find a new handle that perfectly fits your axe.
You can purchase a new handle online or at a home hardware store. You might even have woodworking friends that are happy to make you an axe handle from scratch.
If you’re pretty handy with tools and wood, you could even make your own.
2. Remove Your Old Handle
When you’ve purchased a new handle, you can start removing the old one. This part of the process is pretty easy as it doesn’t matter if you damage the old handle.
In all honesty, you can remove the old handle any way you can, however, we recommend following the method below:
Start by drilling into the handle via the hole in your axe. When you have a sufficient hole, insert a wedge (metal) and thrust it out. Do this by hitting it with a hammer.
You can then hammer the handle out by using a chisel. You can hit it hard so don’t worry!
Finally, saw off the handle and hit out the bit of handle from inside the blade.
3. Clean Your Axe
There’s a good chance the removal process will leave behind small traces of handle debris. To get rid of this debris, you need to clean your axe.
Start by using your chisel to remove any excess wood.
Once smooth inside, use sandpaper to make sure all the handle has been removed. Make sure you thoroughly clean the hole in the head of your axe.
4. Mark Your New Handle With A Pencil
A lot of store-bought axe handles have a pre-made kerf.
For those that don’t know, the word “kerf” refers to the saw wedge found at the top of the axe handle. This lets the handle fit your axes eye.
The next part of the process involves marking the kerf. To do this, find the point of your handle where the kerf ends.
Once found, trace a line around your handle. This will show you how deep the axe needs to go.
5. Try Fitting The Handle
You can now fit the handle to your axe. This may take a few tries to get right so start by pushing it in manually at first.
Then, tap the handle in lightly using a piece of wood. Every time you push it, check to see how far it got based on your line drawing.
From this, you should get an idea of how well the axe fits. You can then take measurements and cut down the axe to where the test fitting suggests. Never strike the handle with metal.
6. Strike In Your Handle
To set your new handle in place, strike the end of the handle hard with a piece of wood until you’re happy with where the handle sits.
You don’t need to use excessive force to do this but some strength is required.
Part 2 – Securing The Handle
1. If Necessary, Shorten Your Handle
Once you’ve test-placed the handle a few times and struck it into place, you will be able to see how much the handle needs shortening. If you’re lucky, it won’t need to be shortened at all.
The handle should sit right the way into the axe’s eye. If it doesn’t you will need to narrow it.
You can do this using a rasp. Allow half an inch between the bottom of the kerf and your axes’ main handle.
2. Fill The Handle’s Kerf With A Wedge
By filling the other side of your axes eye, you can prevent it from moving around. Do this by lightly placing a thin wedge into the kerf. Secure the wedge with carpenter’s glue.
3. Put Metal Wedges In The Axes Eye
To secure the handle more, add some metal wedges too. These can be hammered in place. Add the wedges diagonally for more stability.
4. Saw Off Any Protruding Wedge
Once you’ve added the wedges to the handle and secured them in place, you need to saw them down.
This will help maximize the force in your swings. Keep a few millimeters spare at the end for good measure.
5. Tighten The Handle With More Glue
If you’ve followed all the steps and find that the handle is still a little loose, don’t be afraid to apply some more glue.
6. Protect Your Handle
The final step in securing your axe handle is to coat it with mineral oil. Cheap and easy to apply, mineral oil will bring your handle to life.
To apply the oil, drip a small amount of oil onto a cloth and apply it to the axe handle consistently.
7. Use Your Axe
Your axe is all ready to go. The new handle will be able to take the pressures of your swinging and will enhance the longevity of your axe, so be sure to get out there and give it a try to see what you think.
Final Thoughts
That concludes our post looking at how you can replace an axe handle.
In this post, we’ve given you a step-by-step set of instructions that you can use to replace an old handle and secure a new one.
While the process might seem a little tricky at first, with patience and practice, you’ll soon be able to replace your axe handles without even thinking about it.
Besides, you don’t have to change axe handles that regularly anyway.
Now you have these instructions, why not replace your old axe handle with a strong new one?
Hello, my name is Tim Roth and I have lived in Texas all of my life. I have seen it all - tornadoes, flash floods, and other natural disasters that have come our way.
I have kept a survival kit for all my family members in my basement since I was in my 20s. Every time a new member comes along, I make them a new kit. No one in my family will be caught out in a disaster - I make sure of it.
I teach a survival class at the local hall as well. It’s free for anyone who wants to learn about keeping themselves and their family safe, should the worst happen. We cover how to help children and the elderly, make your own evacuation and survival kits, and much more.