As any survivalist will agree, a paracord is by far one of the most useful items to have when going out on an adventure or simply wanting to be prepared for any situation!
The strands of a survival bracelet can be used to create anything from fishing lines to starting a fire…and can even be used to make a tourniquet!
The only question is, how do you go about making a survival bracelet?
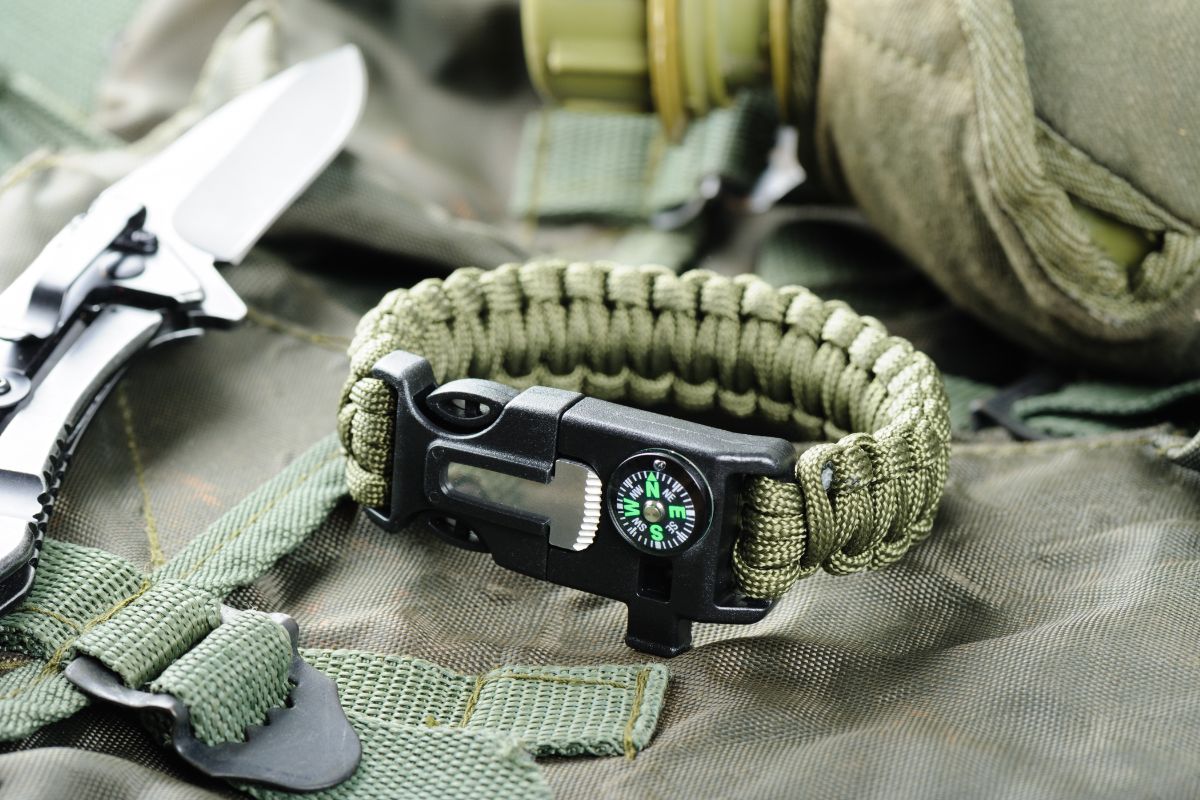
A stylish way to make sure that you always have a handy paracord on you, a survival bracelet offers a wide variety of uses that have the potential to not only be convenient but also save your life in an emergency.
In this article, we are going to be showing you how to make one.
Even though the technique for making a paracord bracelet can be quite a tricky one at first, with a little bit of practice you’ll see just how easy it is to make one for you and your loved ones.
So, just reading to discover how to make survival bracelets of your very own in a variety of different colors and sizes.
What You’ll Need
In order to make your very own paracord bracelet, you are going to need to make sure that you have a few supplies.
Check out the following list to make sure that you have everything you’re going to need to make your very own paracord, survival bracelet:
Paracord in the color of your choice. Paracord is available in a variety of different colors, so you can easily customize your bracelet to suit your preferences!
Plastic side release buckle.
As a side note, please keep in mind that the length of the paracord required to make your bracelet will vary depending on what size your wrist is.
However, to make sure that you are going to have enough material to make your bracelet (while also making sure that you have room for mistake) we recommend that you ensure you have at least 12 inches of cord to work with.
Along with these materials, you are also going to need to make sure that you have all of the necessary tools to be able to make your survival bracelet, too!
These are as follows, and will ensure that you are going to be able to make your bracelet both correctly and safely:
Tape measure (or if you don’t have a tape measure available, you can also opt to use a ruler)
Scissors
Lighter
After you have made sure that you have all of the above, you will be ready to go ahead and begin making your paracord bracelet!
The only thing left to do will be to make sure that you are following the proper technique in order to make it correctly – this brings us to our next point!
Pick The Color
First things first, before you even think about making your survival bracelet, you are first going to need to take a few moments to choose the color that you would like your survival bracelet to be.
As we have already mentioned, paracord is available in just about any color you can think of, and you can even add a few different colors if you would like to create a unique and colorful mixture!
Measure Your Wrist
Once you have chosen the color (or colors) that you would like to use, then the next step will be to measure out your wrist…otherwise you are more than likely going to find that the survival bracelet that you make is either too big or too small!
In order to measure out your wrist to make your survival bracelet, just take a piece of paracord that you are going to be using and wrap it around your wrist and then make a note of how much you are going to need to fit around your wrist.
Measure The Cord
After you have measured your wrist and you know how much paracord you are going to need to make your survival bracelet – you will then be able to measure the amount of cord that you are going to need to make your bracelet.
If you plan to use one color to make your bracelet, you will need to multiply the inches of the paracord you measured in step 2 by 12.
Although, if you are going to be using two colors, then you will need to multiply the number you got in step 2 by 6.
Feel free to add a few more inches if you want your survival bracelet to have a looser fit on your wrist once you have finished making it.
Attach The Buckle
Once you have finished measuring the cord and twisting them together, you will then be ready to go ahead and add the buckle to complete your survival bracelet.
In order to do this correctly, you will need to simply take the cord (if you are using two cords then you will first need to make sure that the two cords have been fused together to make one cord with the lighter) and then simply attach the cord to one of the ends of the buckle.
To do this, find the center of the cord and then pinch the loop at the opposite end of the cord.
Then, thread the loop through a side of the buckle and pull tightly to secure the buckle in place.
Wrapping Up
There we have it! You’ve made it to the end of the article.
Now that you have taken the time to read through this guide, we hope that you’re now feeling a lot more confident about how you can build your very own survival bracelet.
Oh, and did we mention that survival bracelets also make great gifts, too?
You can easily customize these paracord bracelets in a variety of eye catching colors that will make great gifts for the adventurous types in your family.
Hello, my name is Tim Roth and I have lived in Texas all of my life. I have seen it all - tornadoes, flash floods, and other natural disasters that have come our way.
I have kept a survival kit for all my family members in my basement since I was in my 20s. Every time a new member comes along, I make them a new kit. No one in my family will be caught out in a disaster - I make sure of it.
I teach a survival class at the local hall as well. It’s free for anyone who wants to learn about keeping themselves and their family safe, should the worst happen. We cover how to help children and the elderly, make your own evacuation and survival kits, and much more.