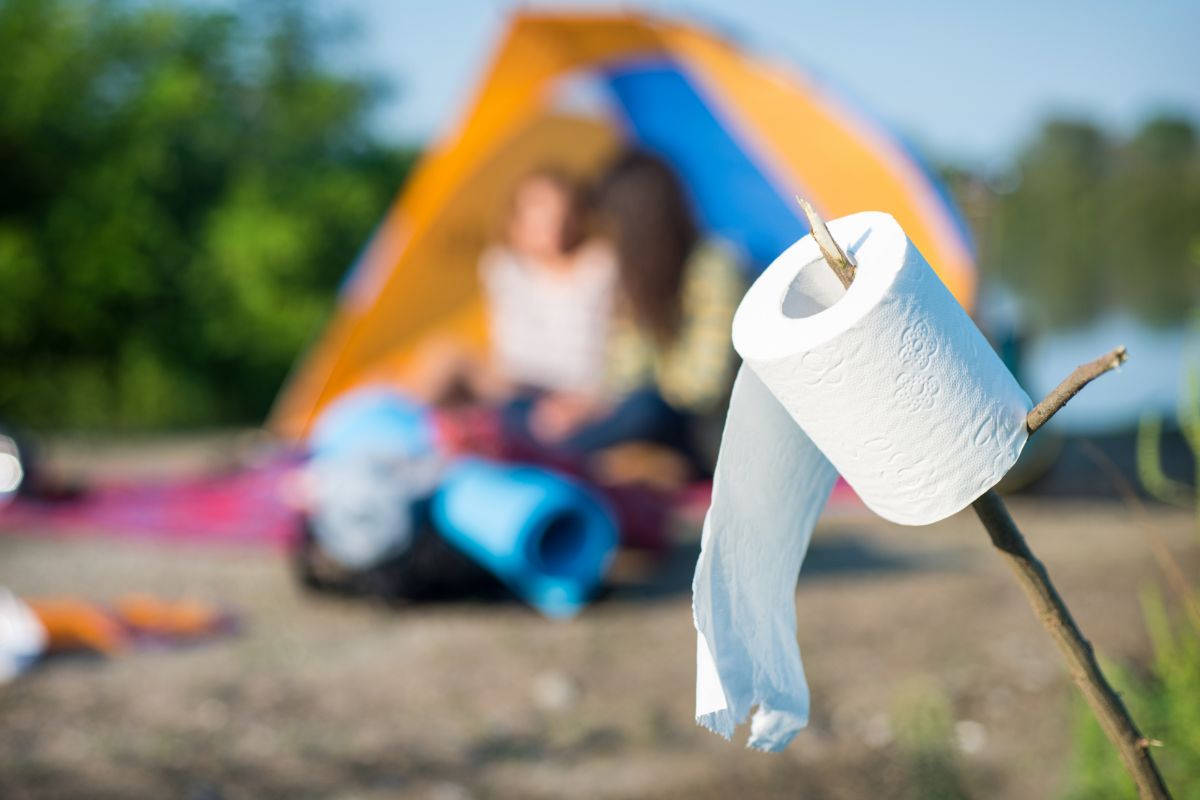
Even if you’re going for a trip in the wild, you want to have that little bit of comfort when you’re on the toilet. After all, you don’t want to spend much time looking for a bush or digging a hole each time nature calls.
So, we’ll teach you how to make a quick and easy DIY toilet for when you, your friends, and your family go camping.
Making a DIY toilet is super easy, and incredibly cost effective. Your essentials are basically a five-gallon bucket, a pool noodle, some biodegradable bags and toilet paper.
With these cheap supplies, you’ll be able to make this within a few minutes and keep this knowledge handy for any camping trip that may come your way.
Keep this in mind, as we go through this quick and easy guide to make your own DIY toilet.
What Do You Need To Make A DIY Toilet?
Before you head out, you’re going to need your supplies. You should grab a bucket, preferably a five-gallon one. Then, get a plastic bag, a pool noodle, and, most importantly, a toilet paper roll.
Remember to grab yourself a utility knife (Also check out How To Wear A Boot Knife) or anything else capable of cutting. After all, you’ll be needing that for your pool noodle.
These are all the essential tools that you need. You can also grab a marker for measuring. Ideally, you should ensure that your plastic bag is biodegradable, as is the same for your toilet roll. You can also grab some sawdust, coffee grounds, or dirt to cut down on the smell.
But, let’s not get too ahead of ourselves. First, let’s get to work on making the toilet.
Turning Your Bucket Into A Toilet
When you buy your five-gallon bucket, you should make sure that it has a tightly-fit lid and that it’s sturdy enough to support your body weight. Remember, you’ll need to be able to sit on this. Thankfully, these buckets are easily found in any hardware and home stores.
There’s one feature you need to add to give your bucket toilet a modern feel, and that’s by hanging your toilet paper on the bucket’s handle. This is easy enough to do, just remove one end of the handle from your bucket.
Just pull the wire from the plastic edge, and put your toilet paper roll on it. Just don’t straighten out the wire, or else it will no longer hold the weight of the bucket and it will swing around. Once you’ve done this, put the wire back into place as it was.
Adding Some Comfort To Your Bucket
Now that you’ve got the basics, you should know that crouching down on your bucket won’t make it the most comfortable in the world. So grab your pool noodle and turn it into a seat. You can also choose the color if you like.
When you design your padded seat, you should decide on how you want your seat to look. Do you want to cover the whole rim of the bucket, or would you rather leave an opening at the front to make it easier for you to clean it?
Once you’ve decided, you should grab your marker and decide where you want to cut it. You can find out where to cut it by getting the pool noodle and lining it around the rim of your bucket. Then, cut the end of it off, so that it fits the marker.
If you’re wondering how it will fit on the bucket, then don’t worry. Mark a line down the center of your pool noodle and make sure it’s length-way. Then, cut it down this point.
Due to the hollow interior of your pool noodle, it will open up and you’ll be able to carefully place it around the rim of your bucket.
To make sure it’s placed properly, you should push down on it. The last thing that you want is for your pool noodle to move around while you’re doing your business. You’ll know it fits when you can sit on it and it will be both snug and secure.
Making Sure Your Bucket Is Sanitary
Now, before you start doing your business, you’ll want to grab a biodegradable bag of some sort to place in your bucket. This can be a small trash bag or a plastic bag from a shop.
You can place it over or underneath your pool noodle. Ideally, if you want to put it over your pool noodle, you should choose a drawstring bag so that it can be held into place.
You should especially consider a biodegradable bag if you plan on burying or composting your waste. Make sure you choose the correct bag, and if you do choose one of these, consider some biodegradable toilet paper as well.
Removing the Smell From Your Toilet
One concern you may have about your bucket is whether it will smell or not when you’re out in the wild. You should grab some coffee grounds or sawdust to throw in there to prevent the smell.
If you want to cover your bucket between the time you use it, you can simply close your bag or put the lid of your bucket on top of your seat.
If you do want to throw some sawdust or coffee grounds into your bucket you should do so just before and just after you use it. This way, they can absorb the smell.
Burying Your Waste
Now, I can’t state this enough. When you dispose of the waste in your bucket, you need to make sure that if you choose to bury it then you need to choose a biodegradable bag.
The same goes for your toilet paper. When you bury it, you should make sure it’s about 200 feet away from any water, or any hiking trails, or any other campsites. Just be polite and don’t leave it in an area that will make it get exposed to some innocent travelers.
Then, when you find an isolated spot, you should dig a hole. Dig so that it’s around six to eight inches in depth and four to six inches in diameter. A hole this size should make it easy for you to bury your waste and cover it completely with dirt.
Making Life Easier For Yourself
Now that I’ve told you how to make your portable DIY toilet, you should have no problem with roughing it. But if you want to make life a little easier for yourself, I’ve included a few additional suggestions of what you could bring with you.
Now, if you’re burying your waste, it’s essential that you bring a small trowel with you to make digging a lot easier. I recommend doing this instead of digging with your hands, and it’ll be quicker.
If you want some more privacy, then you could invest in a pop-up privacy tent. This is a small tent that you can use to give yourself some added privacy.
Just put your toilet inside this tent, and you can turn it into your own portable bathroom. You can even use this as a changing room or even a shower if you want.
Now, an extra option I could recommend, and this is for anyone who doesn’t want a pool noodle seat, is to invest in an instant toilet seat.
Not everyone may want a pool noodle seat, and so you can easily find an instant toilet seat to attach to your five-gallon bucket. It’s partially because of this that we recommend a five-gallon bucket, so that you can change this if you feel it would suit you better.
On the off chance that you really don’t want to make your own toilet, there are also options where you can purchase your own ready-made portable toilet. However, I would still keep these supplies handy, as they can come in great for an emergency.
Final Thoughts
Congratulations! Now you should have everything you need to make your own portable toilet for your next camping trip. This knowledge is invaluable, and can give you some added comfort for you, your family, and your friends.
But you should always make sure to follow waste disposal guidelines correctly, especially local regulations. When you go camping, you should always be considerate of the other campers when disposing of your waste.
Hello, my name is Tim Roth and I have lived in Texas all of my life. I have seen it all - tornadoes, flash floods, and other natural disasters that have come our way.
I have kept a survival kit for all my family members in my basement since I was in my 20s. Every time a new member comes along, I make them a new kit. No one in my family will be caught out in a disaster - I make sure of it.
I teach a survival class at the local hall as well. It’s free for anyone who wants to learn about keeping themselves and their family safe, should the worst happen. We cover how to help children and the elderly, make your own evacuation and survival kits, and much more.