Got everything else in your bug out plan figured out? Your location, route, vehicle and all of the miniscule details in between? All you need is to decide which bug out shelter will suit your needs best.
Below you will 7 bug out shelters that you must know how to build in preparation or in times of survival. These bug out shelters may just save your life.
Whether you are lost during a long hike or the government demands you find shelter quickly these bug out shelters will keep your safety plan in action to keep you and your loved ones safe.
Simple Tarp Shelter
As you build your bug out bag, you may want to make sure a tarp is in there along with your other essential supplies. This tarp along with some wood can help you build a simple yet effective shelter in times of need.
Begin by laying your tarp out flat on the ground, gathering some short wooden sticks to use as stakes. Stake the corner of your tarp to the ground. Making sure to tuck your corners under.
Using the tarp clip, attach to the front of the shelter tarp.
Attach the tarp clip to your longest piece of wood in order to create a ‘door’. Using a long piece of string, attach to your long piece of wood and pull it down to the ground at an angle. Hammer into the ground with a nail or small piece of wood. This will create a balance to stop your shelter from caving in.
Place two rocks on the bottom corners to hold them down and to stop rain from pooling in.
Body Heat Shelter
One person can easily stay in this temporary shelter, which is also an emergency shelter. This shelter is mainly only used for 1 night in times of an emergency such as being stranded on a hike overnight
How to build a body heat shelter:
Using dirt, leaves, and twigs, make a mound. To frame the mound, use somewhat larger sticks.
Make a hole in the mound which is just large enough that you can crawl into and get comfortable.
Now, close the opening so that no air is able to pass through. As you lie in the hole your body heat will warm up the space and keep you warm throughout the night.
If you ever find yourself stranded in the snow, you can use the same form of shelter. The snow, even though it is cold, will insulate and protect your body and the space from the outside elements .
When building your body heat shelter in the snow, keep digging until you hit solid ground as this will further heat your body and your shelter.
Lean To Shelter
You can make a quick shelter out of downed trees if you need to escape the wind and rain. You can easily fit up to four people within this shelter while being protected from the weather.
Locate a fallen tree and find 5 to 6 strong branches that can be used as poles.
Angle your poles at 45 degrees against the thickest part of the trunk.
Locate another 5 to 6 branches and position them in the form of a grid frame.
Flexible leafy boughs or branches can be woven between the poles, and bark and leafy branches can be used to waterproof it.
Building a Lean To shelter can take anywhere between 2 to 5 hours. This depends on the resources available and how durable you need your shelter to be. If made correctly your Lean To shelter could last you a few days in drier conditions.
A-Frame Shelter
Mastered building a Lean To shelter? Then an A-Frame shelter should be a piece of cake. With an A-Frame shelter, the ridge pole or the top of your frame runs into the tree. Just ensure it is tall enough to let you sit comfortably.
Using branches, construct an A-frame to enclose your ridgepole’s two sides.
To secure the branches attach vine or carthage. This will protect you against the cold, harsh weather and other elements including the blazing heat of the sun.
When making a fire pit for warmth make sure to place it near the opening. You want to avoid smoke entering and consuming your shelter. A fire will also help deter bugs and other creatures from entering your shelter.
Subterranean Shelter
There are 2 types of subterranean shelters you can build:
Short Term
Find a tree with roots that has fallen. The roots can be included into the framework to support it and guard against soil erosion.
Locate a long, sturdy branch which you can lean against the tree roots for support.
Gather smaller branches to line up against the longer branch and create a roof.
Cover with moss, to help insulate the shelter and protect from the outside elements.
This type of Subterranean shelter will work for a few nights if you are out in the woods, however, eventually the wind, rain and creatures will begin to tear down the structure.
Long Term
A long term Subterranean shelter will take time, effort and planning to build effectively.
If you have the time, the finances and the know how you could build an elaborate shelter with all the amenities and comforts of a home including a working toilet and electricity.
You could even create a defense system to ensure the safety and security of your survival shelter in the event of a bug out.
Your Subterranean shelter should still be covered and blend in with the surrounding landscape. While this may attract some uninvited critters and creatures, it can keep your survival shelter protected for longer.
If built correctly, a long term Subterranean shelter could stand for decades to come, even if you never have the need to use it.
The Poncho Tent
It doesn’t get any simpler than this to construct a simple survival shelter. Get a military poncho or tarp in your possession. It is strong, impervious, and long-lasting. On the run or in times of survival, it might serve as a short shelter.
A knife and paracord (You might want to check out How To Make A Survival Bracelet using a paracord) will also be needed to build a poncho tent.
Firsty lay out your poncho under the branch you have selected.
Stake down the four corners of your poncho with stakes or branches. You want this to be a little more loose in the beginning.
Now, hang your cordage over your chosen branch. Make sure it is centered over your poncho. Use a slipknot to help secure the cordage to your branch.
Gather your poncho, pull the cordage down and thread it through your hood.
From here you can move your stakes for more or less height.
You can also create mounds of dirt to help barricade the edges of your shelter. This will help build a good layer of insulation throughout the night.
Keeping the poncho closer to the ground and covering it with leaves will keep your body heat trapped and keep you cozy throughout the night.
You now have a quick, simple shelter which can be used for camping or in times of survival.
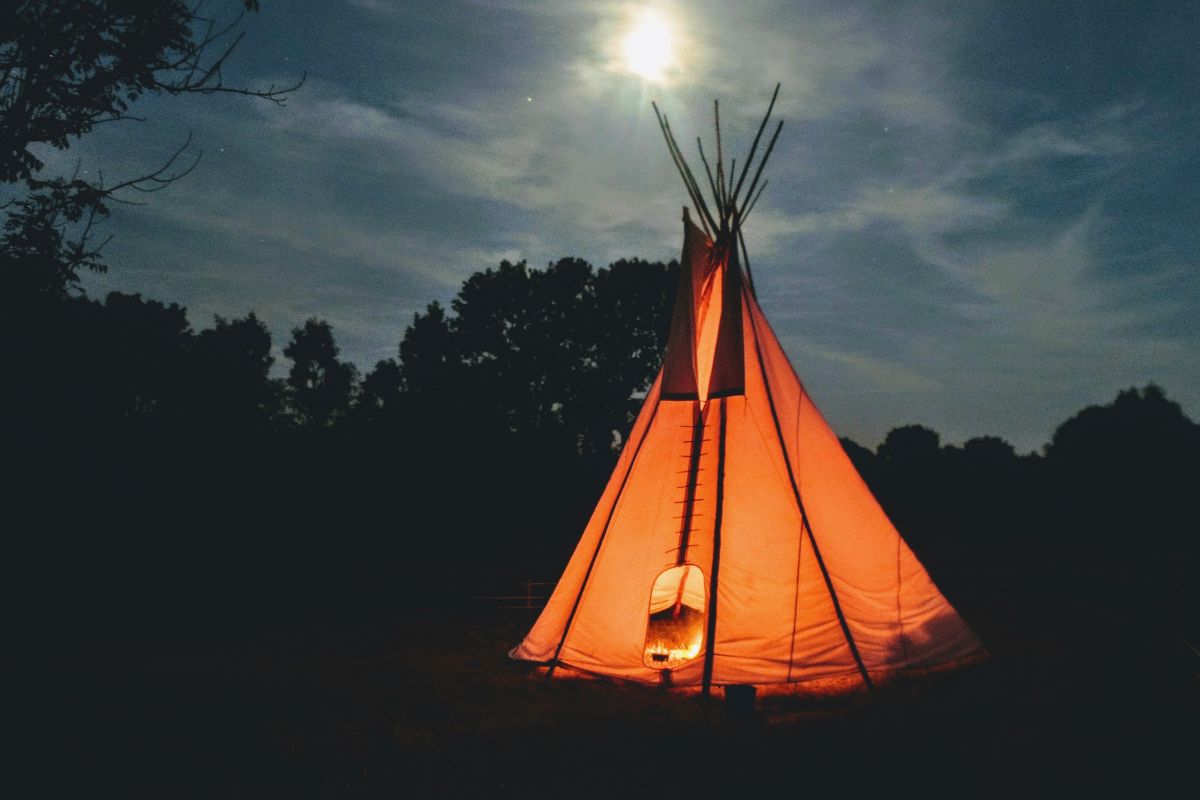
Simple Teepee
This simple shelter can be a stand alone structure or you can build it against the trunk of a tree for more stability.
Now, you can build a suitable teepee shelter from the resources around you, a tarp will add a layer of protection and insulation.
Locate a strong, slender tree trunk to support your poles.
Now, you need to gather long, study branches to form a cone shape. This may take some time depending on the terrain.
If you have some, use rope or vines to bind your poles together for a stronger structure.
Line the inside of your teepee with the tarp, covering as many gaps as possible.
Cover any holes with leaves, moss grass and vines.
In the event that you must build a stand alone teepee. Begin by typing three long, straight as you can find branches to create a tripod.
Place the frame on the ground and cover it in grass, vines, and leafy branches.
Cover from the ground up, this will aid in allowing water to slide down the cover than fall inside.
You can also build a fire inside your teepee for extra warmth. Just make sure to have a small opening for air ventilation which can be covered during the night.
Precautions to Take
When building your bug out shelter, there are certain factors which you should be aware of. Including:
Your surroundings. You should be aware of any fresh water nearby, escape routes, food sources, lingering predators and game trails. These reasons are why it is general practice to source out your bug out location before building your shelter.
Snakes & Wildlife. While we are using the area as a form of safety, snakes and other wildlife still live there. In order to remain safe, gently prod the grass and surrounding areas to jostle any hidden wildlife before cleaning with your hands.
Leave food outside. If you are lucky enough to have brought or caught food. It is crucial that you leave it outside of your shelter. Bringing it inside will lead creatures of all sizes into your shelter. You can place the food in a bag and tie it to a high branch for security.
Branches & Leaves. Avoid using a tree’s branches or leaves if they have lace-like-looking leaves. This is an indication that the tree is covered in insects and pests. This could lead to you being bitten or stung by a poisonous creature. There is also the factor that it is difficult to sleep with bugs and critters crawling over you as you rest. a
Grass & Moss. When using grass and moss to add an extra layer of insulation and waterproofing to your shelter you want to ensure it is healthy foliage. Any foliage which has a chalk-like white coloring has mold and could be bad for your health.
Tips To Building Shelter
When building your shelter, think of these tips to make your shelter stronger and secure. Not following these tips may still provide you with a decent bug out shelter, but you may find it lacking in some areas.
Water Source. When deciding on a location for your bug out shelter, ensure there is a water source within walking distance. You can survive days without food but you can only survive for around 3 days without water. Find a location near a body of running water such as a stream, river or lake.
Disguise Location. Once you have found the ideal bug out shelter location, you want to make sure it is concealed from others. This should be somewhere that is secluded and is often left untouched for long periods of time. Locations such as mountain terrain works well but make sure it is not near a mountain pass.
Camouflage. Once you have built your secure, protected bug out shelter use resources around you to camouflage your shelter from unwanted guests. You want to make sure it blends in with its surroundings.
Fire Pits. While fire pits are necessary for warmth and cooking at night, avoid lighting one during the day. The smoke can act as a signal for others to follow and for creatures to hunt.
Final Thoughts
You now have the final piece of the puzzle for your bug out plan. If you have the time and budget, your bug out shelter can be comfortable, safe and warm.
However, if you are in a time of emergency the bug out shelters above work great when in survival mode.
Don’t forget to take the necessary precautions in order to increase your chances of survival.
Whether it’s as simple as checking for snakes or using the correct type of foliage to insulate your shelter, one mistake can have disastrous effects.
When preparing for a bug out, scout out a safe, viable location beforehand. Select your preferred type of shelter and get to work!
Hello, my name is Tim Roth and I have lived in Texas all of my life. I have seen it all - tornadoes, flash floods, and other natural disasters that have come our way.
I have kept a survival kit for all my family members in my basement since I was in my 20s. Every time a new member comes along, I make them a new kit. No one in my family will be caught out in a disaster - I make sure of it.
I teach a survival class at the local hall as well. It’s free for anyone who wants to learn about keeping themselves and their family safe, should the worst happen. We cover how to help children and the elderly, make your own evacuation and survival kits, and much more.