Caching food during trips has been done by hikers and campers for many, many years.
Adventurers and explorers before them have been doing it for years before them.
A practice used by both people and animals, food caching refers to the storing of essential food for use at a later date.
Storing some extra food helps lighten the load the next time you visit a location and helps you prepare for any unexpected emergencies.
In fact, this emergency supply of food could keep you alive once you’ve exhausted your food options.
However, food caching isn’t always that simple. There are a range of things that you need to avoid.
Potential problems you could encounter are thieves, spoilage, or predators.
As a result, there are a number of key things you need to know. That’s where we come in!
To help you, we’ve put together a list of 6 food caching tips & tricks that will help you get it right.
1. Only Ever Cache Non-Perishable Foods
We’ll kick our list of tips and tricks off with the most obvious, and easily the most important tip you need to remember. That tip is to only store non-perishable foods in your cache.
When putting together a food cache, you have to make sure that you use the right foods.
These foods should be prepared and packaged in such a way that prevents them from perishing too quickly.
Ideally, all the foods you decide to use should be able to last for years in the food cache without spoiling.
With this in mind, you should always avoid using fresh vegetables, fruits, and cooked meats.
You’ll always want dried, or dehydrated foods.
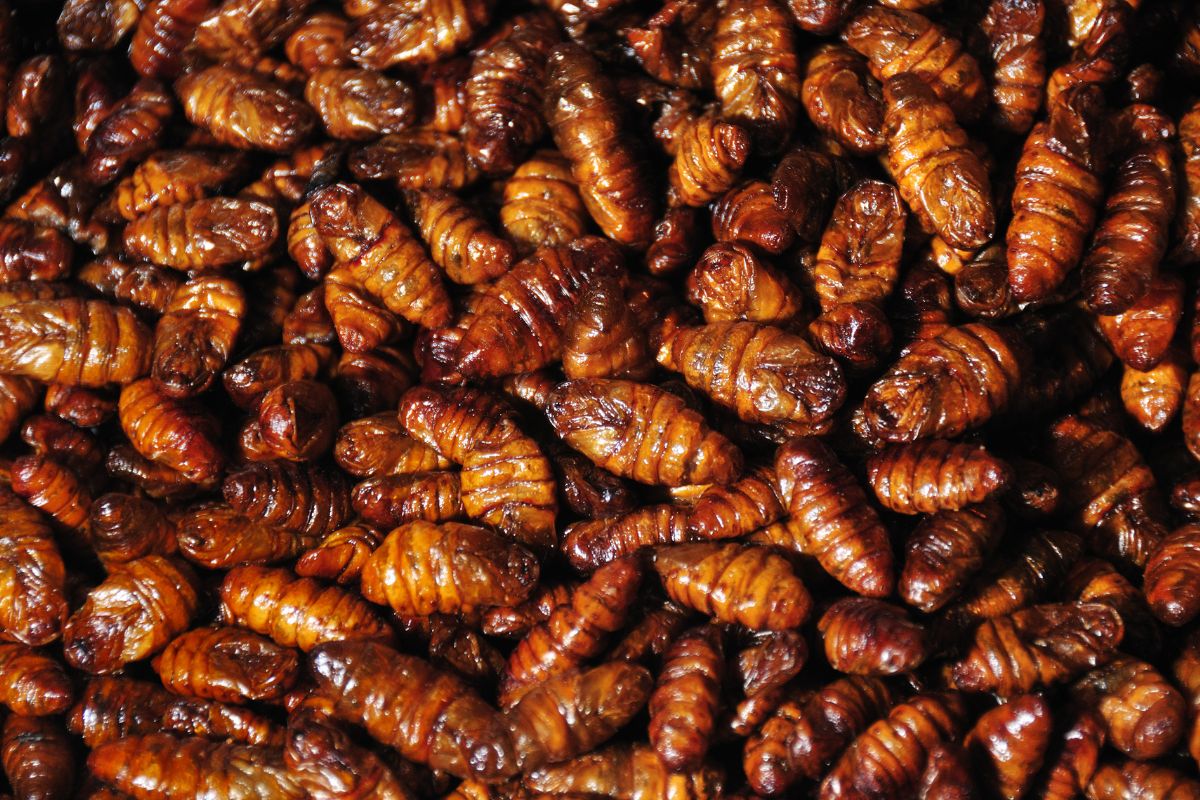
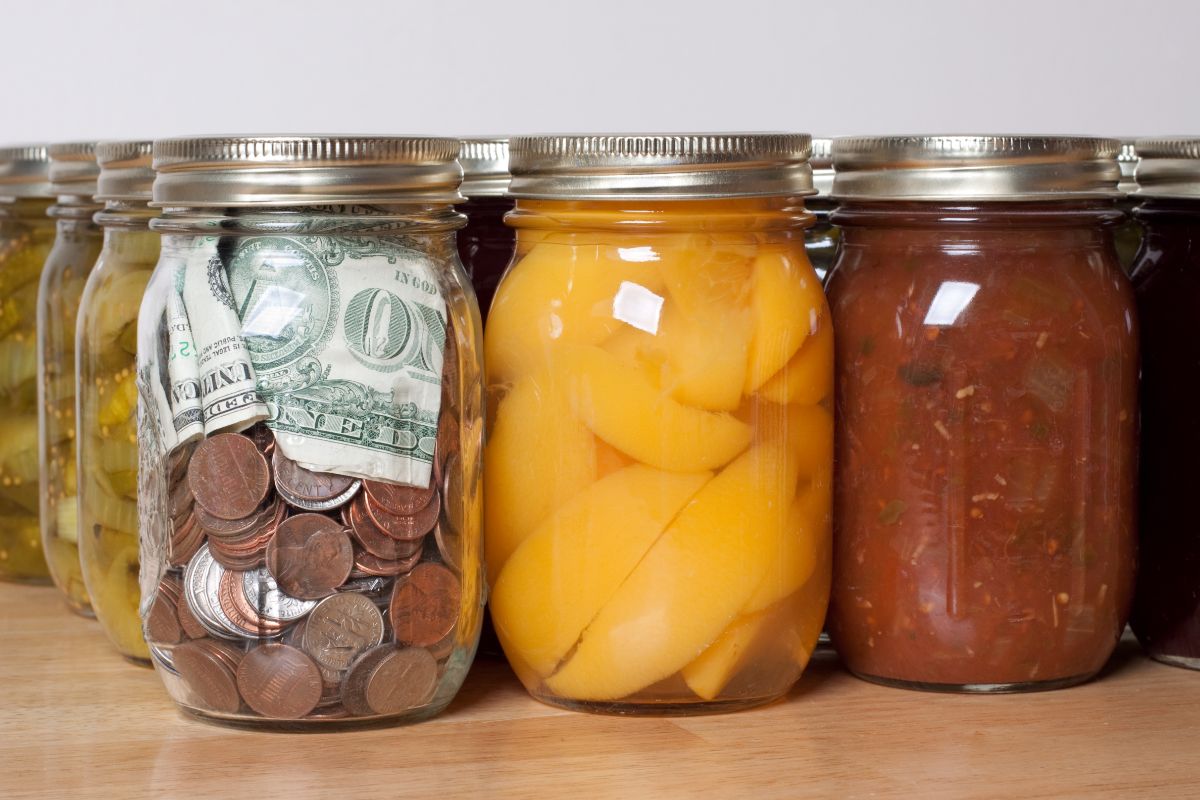
Examples of foods you can use are grains and pasta, canned produce, and fruit leathers.
Other great options include dehydrated soups, unopened bottles of oil, commercially prepared dehydrated food, and powdered milk. Pickled food also tends to work well.
You must also include a variety of carbohydrates, fats, and proteins in a food cache in order to keep the body well-fuelled.
2. Make Sure You Know Where Your Food Cache Is
Almost as important as the need to store non-perishable foods, it’s vital that you always know where your food cache is.
If you don’t, the food in your cache and all its goodness will be wasted.
Luckily, there are plenty of things you can do to keep track of where your food cache is.
By keeping track of your food caches’ location, you’ll have no problem finding it.
One of the easiest, and most reliable ways is to mark your food cache using a GPS unit.
We recommend doing this whenever possible. Doing this, along with other methods of tracing is perfect.
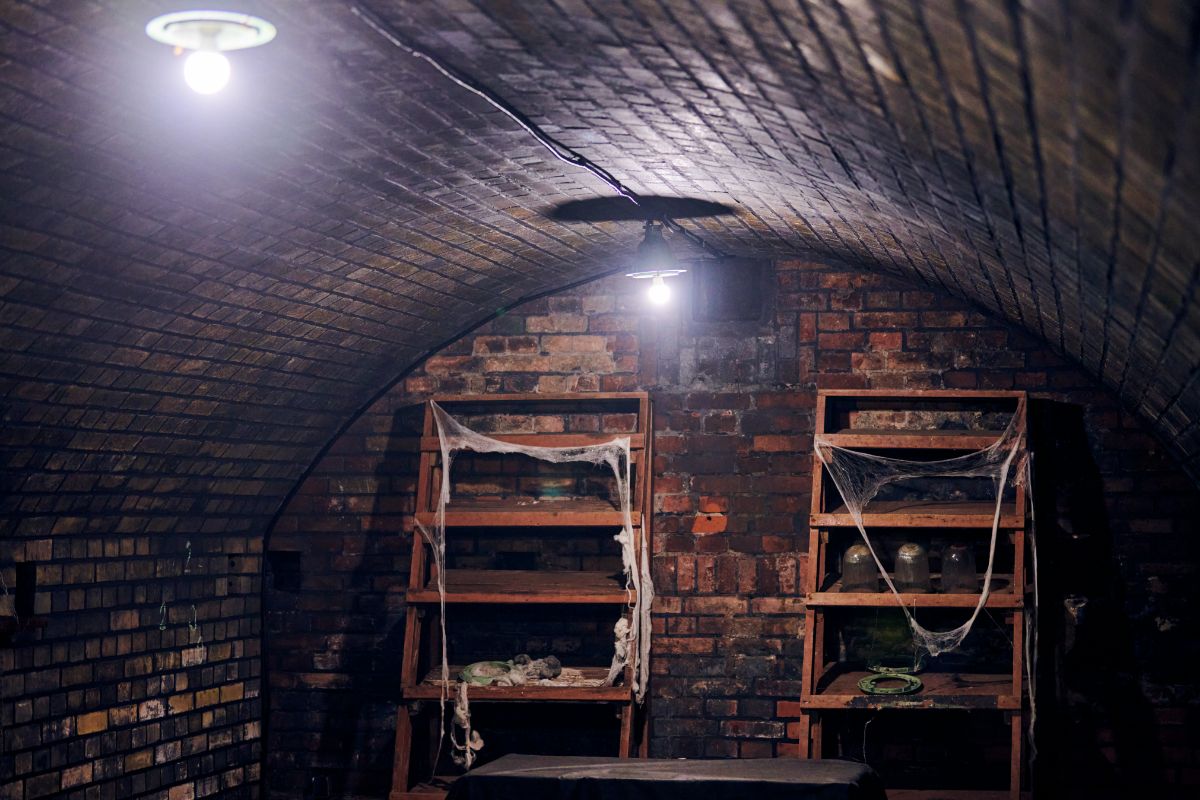
You could place your cache near the base of an easily recognizable tree, draw a detailed map, or even hang a piece of tape in the tree above your cache.
You’ll need to find the right balance when placing your cache too.
You need to make it easy for you to find, but hard enough to hide it from others.
It’s also worth remembering that landscapes usually change over time.
A well-hidden food cache in July might be surprisingly exposed in January.
3. Be Aware Of Potential Predators
Other explorers, campers, and hikers aren’t the only danger your food cache might face.
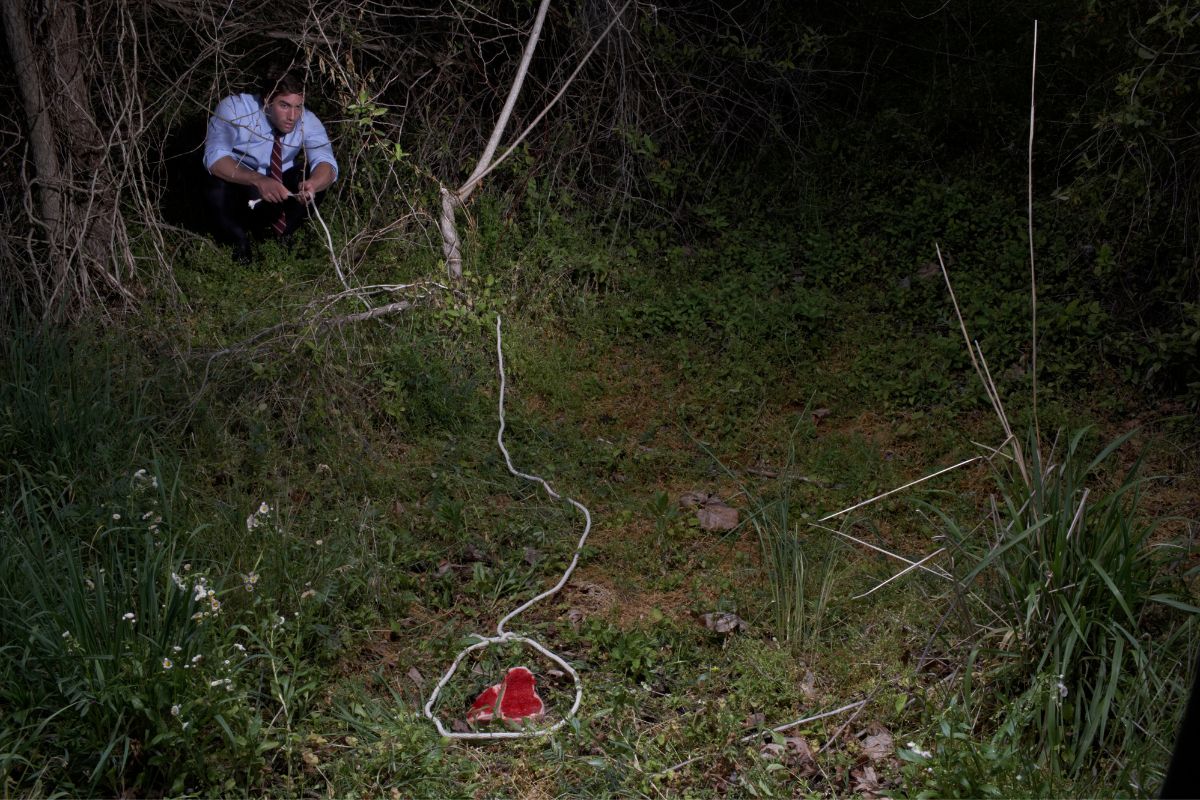
A wide range of potential predators can catch the scent of your cache before growing extremely curious as to what it contains.
It’s a good idea to know about what animals could try to steal your food.
For starters, it isn’t uncommon for smaller animals like mice, rats, and chipmunks to pick up the scent.
To stop these smaller animals from getting to your cache, simply bury it deeply.
Other animals that might pick up the scent of your food cache are bears and coyotes.
These predators are capable of digging down further to reach the treasure.
This might require you to leave your food cache elsewhere.
Hikers and campers typically leave their caches out of reach by suspending them above the ground.
This will keep your food safe in the short term. Unfortunately, this isn’t a suitable long-term storage solution.

Caches sometimes weigh too much for this and the cache is much more exposed to thieves.
4. Store Some Basic Utility Items And Tools In Your Food Cache
More often than not, space is quite limited in a food cache container, so you’ll probably want to maximize every little bit of space you have.
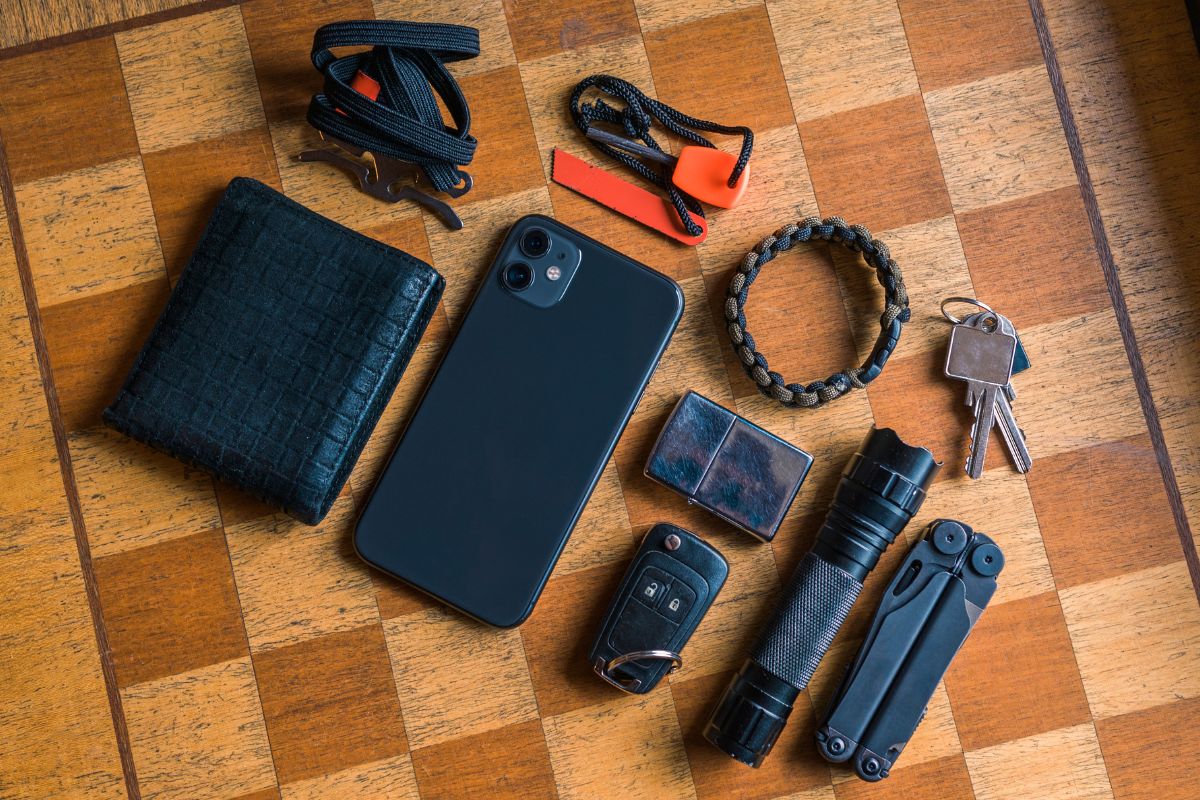
Having said that, we strongly recommend allocating some space for one or two basic pieces of equipment.
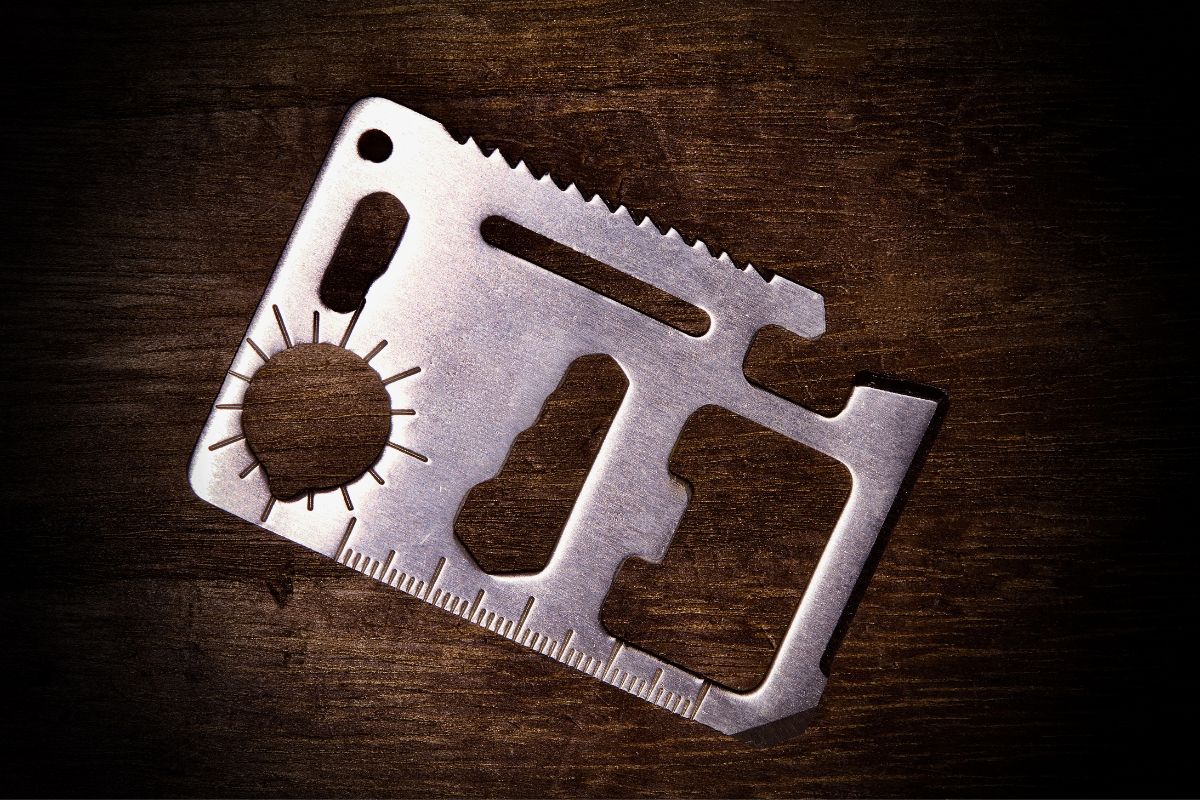
Whether it be something super simple like a spare battery, a roll or duct tape, a flashlight, or something more complex like a multi-tool or pocket knife, these basic things could save your life in a dire situation.
These things only take up a small amount of space and could be the key difference between life and death if you find yourself stranded in the wilderness.
Some survivalists also like to place a small water filter or iodine tablets in their food cache so that they can easily purify water.
5. Check Up On Long-Term Food Caches
The next tip on our list doesn’t make sense in the short term but is absolutely essential in the long term.
Checking food caches during your camping trip or hike isn’t that practical.
It makes little sense to backtrack. Simply store the food as best as you can and hope it’s still there when you return.
On the other hand, the situation completely changes when taking long-term food caches into account.
When you store a cache for extended periods of time, you have to check it once or twice a year.
You need to do this to ensure everything is fine.
The last thing you want is to find your cache in an emergency situation to then realize a bear ate all your food.
If the food you’ve stored is non-perishable and the cache is well-hidden, the contents of your cache container should be okay. However, it’s better to find out in advance.
6. Put A Bottle Of Unopened Liquor In Your Cache
Finally, putting a small bottle of unopened liquor in your food cache is an excellent idea.
It may not be a food, but it can be used in a variety of ways during a survival situation.
Above all else, a bottle of liquor can be used to calm the nerves in stressful situations.
It also has great properties that can help reduce pain.
Another great thing about liquor is that it can be used as a disinfectant and cleaning solution too. This can be very important when tending to wounds.
Finally, you can even use your liquor to get a fire started.
When using liquor, make sure you don’t drink too much. For obvious reasons, this will make survival tougher.
One last cool thing about storing liquor is that you can barter with it if you need crucial resources.
We recommend using a glass bottle of liquor as opposed to a plastic one. Glass will last a lot longer.
Final Thoughts
There you have it, 6 food caching tips & tricks. Food caching is an amazing way to prepare for future adventures.
Whether it be to simply lighten your load the next time you travel or keep a backup food source in the event of an emergency, a food cache should keep your food resources safe.
In this post, we’ve shown you the key things you need to do to ensure you effectively store a food cache.
If you follow the tips & tricks we’ve shown you, you can explore and hike with peace of mind that your food should be safe.
Always think carefully about what you’re putting in your cache, where you’re putting it, and how easy it is to find when you need it most.
Now that you’ve read our list, start putting each tip into practice!
- How To Make A Quick And Easy DIY Toilet For Camping - September 19, 2022
- How To Use A Knife For Self Defense - September 19, 2022
- How To Help The Elderly Recover From A Disaster - September 19, 2022
